
Why I Shoot the Same Scene Five Different Ways
Infrared photography has a dirty little secret that most tutorials skip right over: you often don't actually know what you've got until you're home, in Lightroom, hours or even days later.
That surprises people. With visible light, what you see is roughly what you get — the histogram on the back of your camera tells a fairly honest story. Infrared doesn't work that way. The same scene can render completely differently depending on which wavelength you shoot it in, and how much infrared light is actually bouncing off what's in front of you — which you can't always predict just by looking.
So when I come across a scene I'm genuinely uncertain about — one where I have a vision in my head but I'm not fully confident which wavelength is going to deliver it — I don't shoot it once. I'll capture it several times, often across different wavelengths: a 470nm, a 590nm, a 665nm, sometimes an 850nm pass at the same composition, same angle, same light. Not because I'm indecisive as a rule. Because on that particular scene, I genuinely don't know which one is going to give me the image I have in my head.
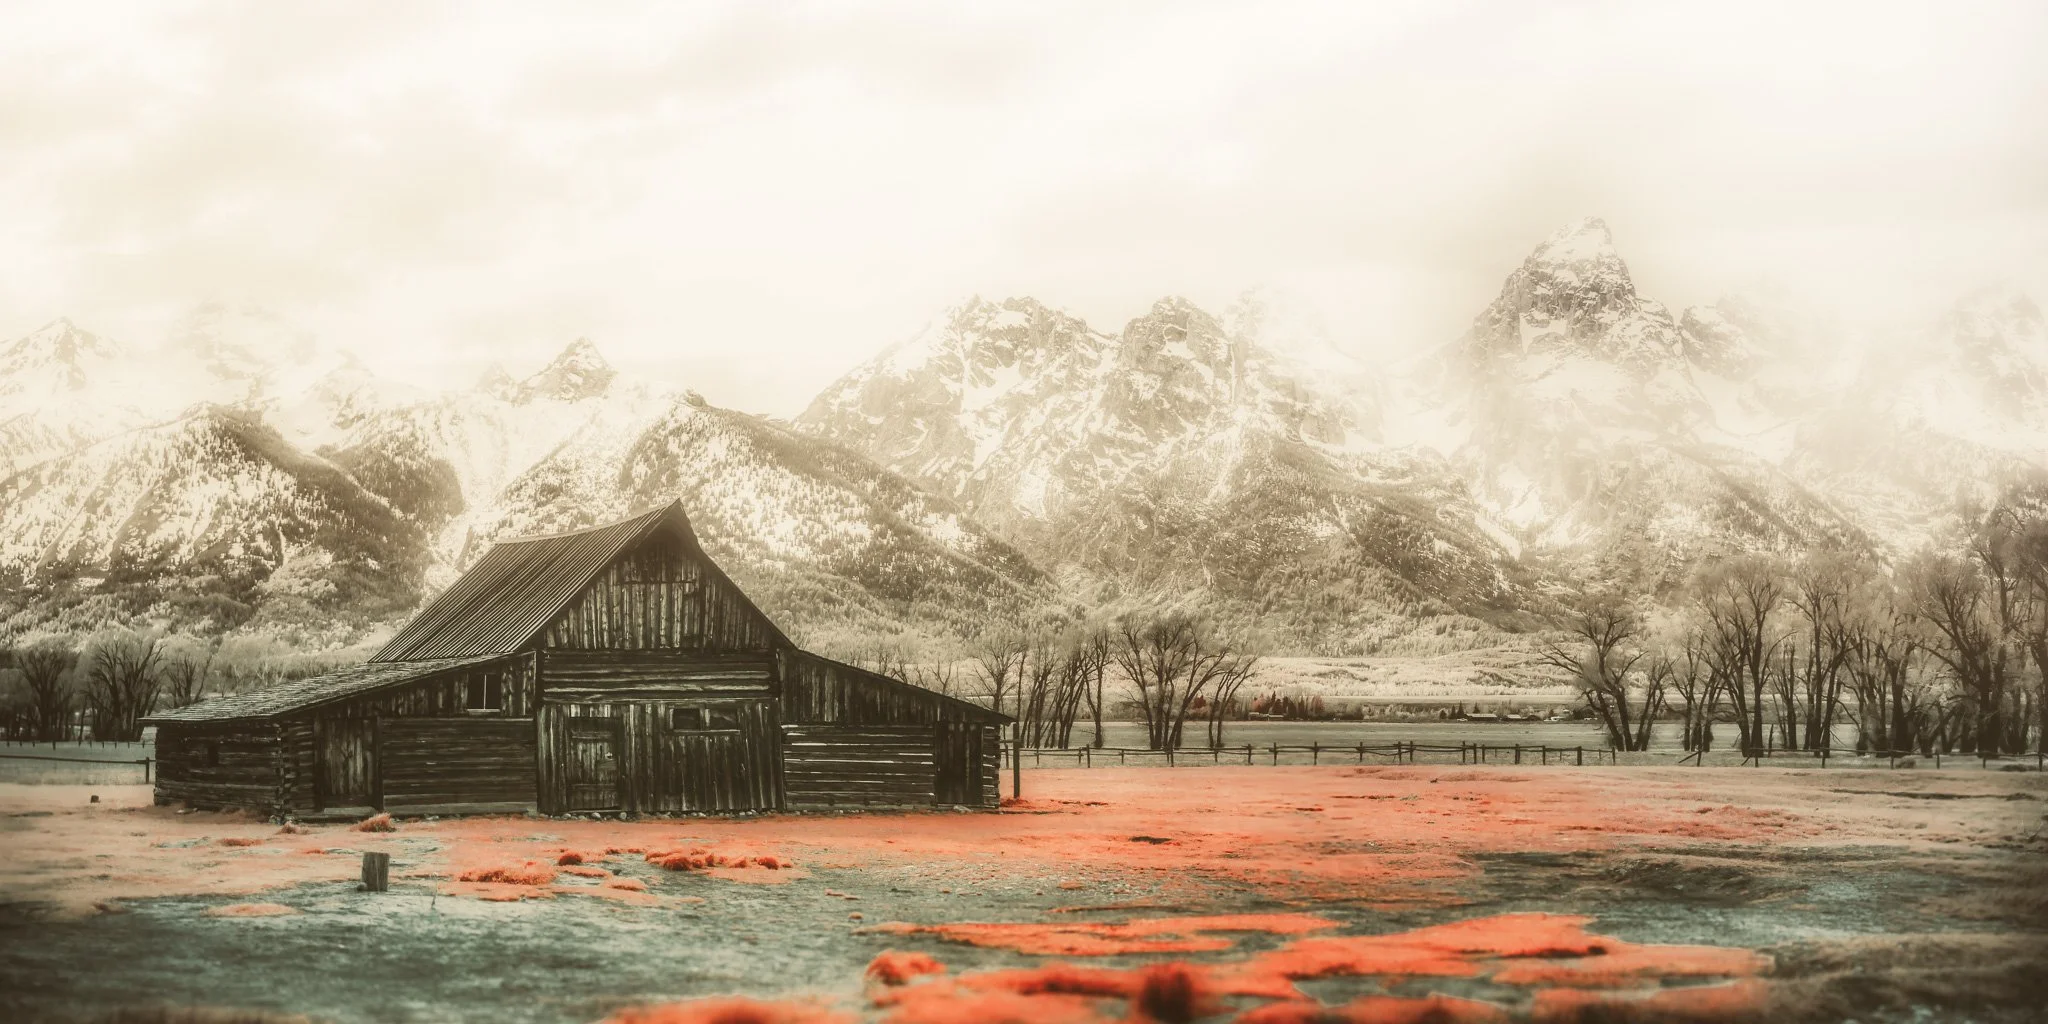
A Quiet Hymn on Mormon Row
A Quiet Hymn on Mormon Row is one of those scenes I knew, the moment I saw it, deserved more than a single guess. That barn against the Tetons is one of the most photographed subjects in the country — I wasn't going to walk away with just one wavelength and hope it was the right one. I bracketed this scene across several passes, and here's the part that still surprises me a little: they all worked. Different wavelengths, same composition, and each one told its own version of the story — proof that sometimes the payoff for hedging isn't just avoiding a wrong guess. Sometimes it's walking away with an entire series instead of a single frame.
That said — I'm not out there bracketing every single frame I shoot. Plenty of times I know exactly what a scene wants the second I see it, I shoot it once, and I walk away confident. The bracketing isn't a habit I follow no matter what. It's a tool I reach for specifically when the light or the foliage feels unpredictable, or when the shot matters enough that I don't want to risk losing it to a wrong guess.
Here's why that uncertainty exists at all: infrared response depends on how much near-infrared light a surface reflects, and that varies wildly by material, season, moisture, even the specific plant species in front of you. Two trees that look identical to the naked eye can behave completely differently under infrared — one might glow bright and luminous, the other might come back flat and disappointing. Foliage that renders as brilliant white in 720nm might barely register a shift in 850nm. Grass that turns a rich gold in 590nm might read muddy and lifeless in 470nm. And 850nm, being deeper into the spectrum, strips things down even further — often where I go when I want the most extreme, almost otherworldly black-and-white contrast.
So on the scenes where I'm not sure, I hedge — not exposure bracketing, the way most photographers think of it, but bracketing the entire spectral character of the shot. It's extra work in the field, and it's not always necessary. But when it is, it's cheap insurance. A missed shot in infrared isn't like a missed shot in visible light, where you can often recover a lot in post. If the wavelength wasn't right for the scene, no amount of editing brings back light that was never captured.
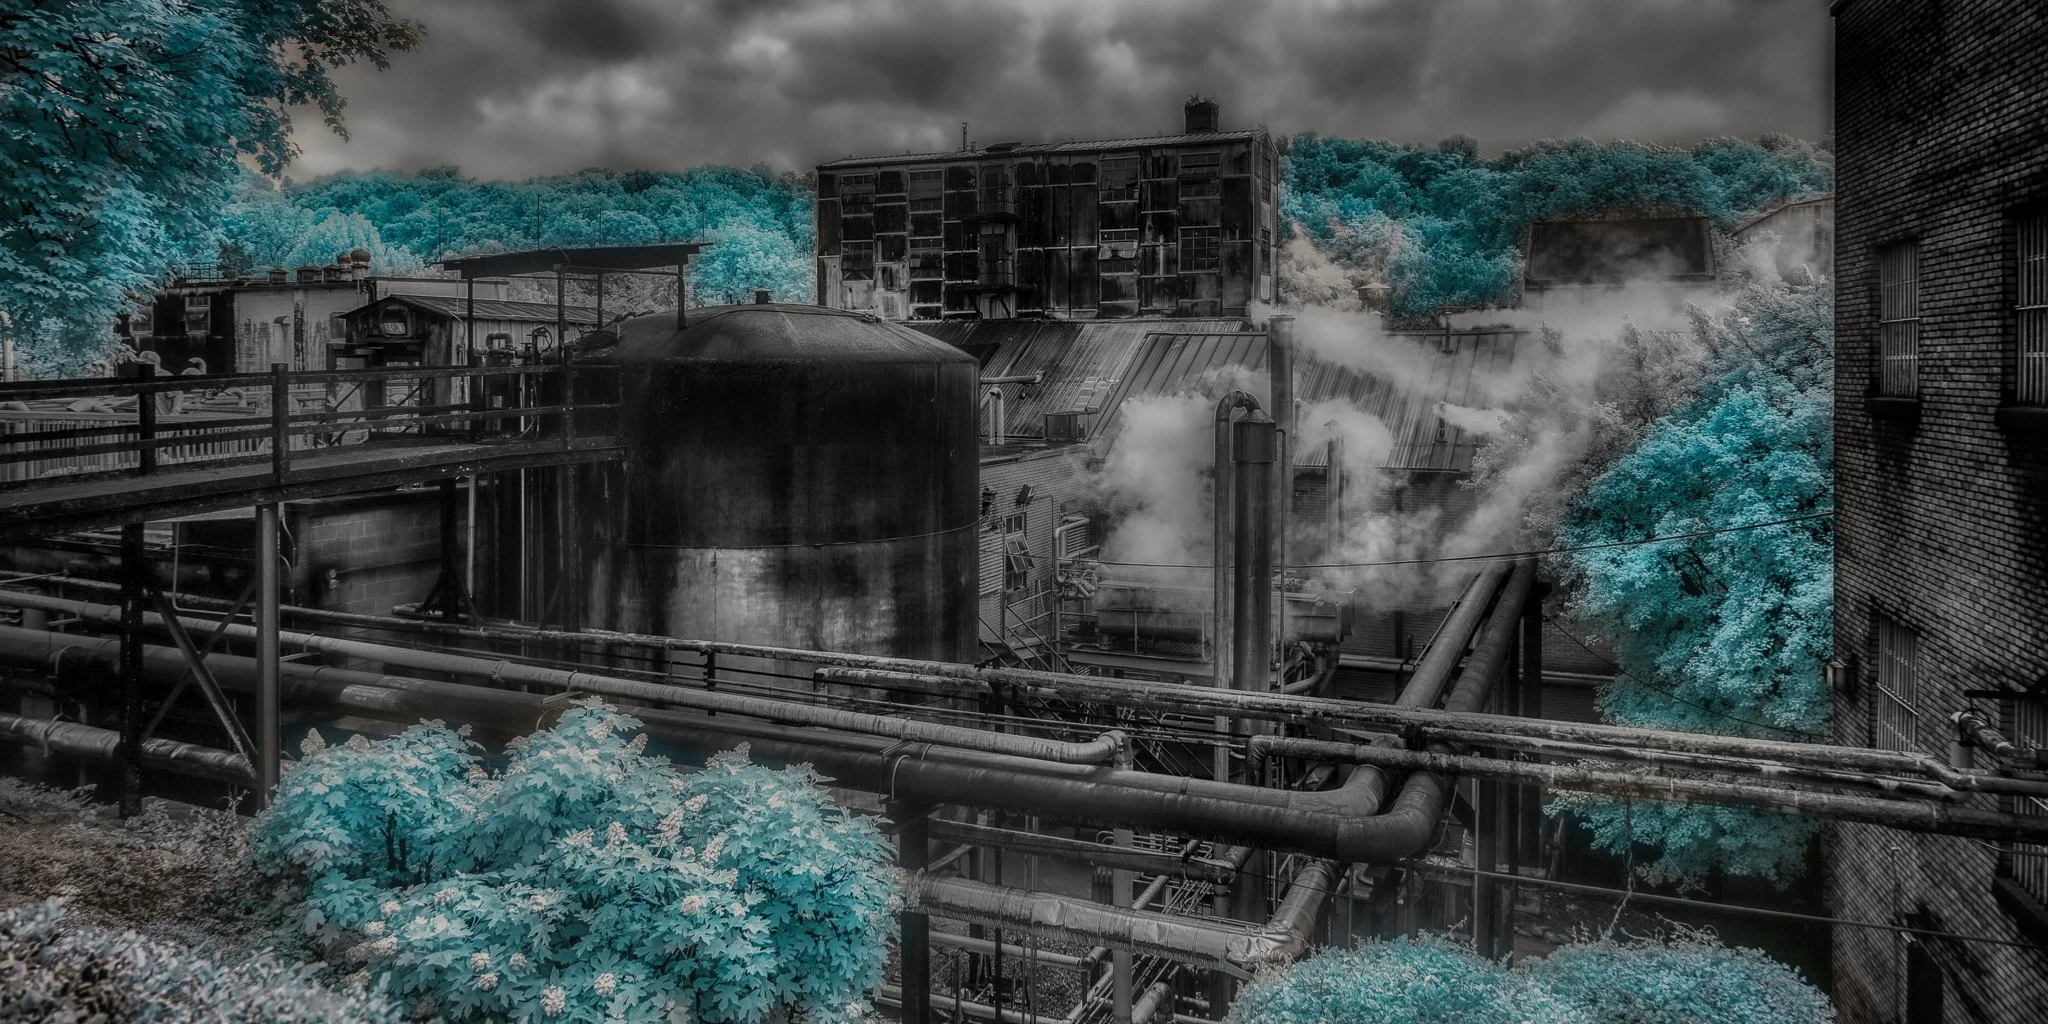
Blue Hues and Bourbon
Blue Hues and Bourbon almost didn't happen at all. We were touring the Jack Daniel's distillery, no photography allowed inside — for good reason, it's a working facility. But when we stepped out onto an overlook partway through the tour, I saw it immediately: the tanks, the pipes, the steam rising against a moody sky, framed by trees that I knew infrared would turn a striking, otherworldly teal. I caught the guide's eye, gave a small gesture with my camera — can I? He nodded. I turned, and I had exactly one shot before we moved on.
No bracketing. No second attempt. Just years of knowing my gear well enough to trust that one frame, composed and captured in the handful of seconds I had, would be enough. Sometimes the work isn't in the multiple passes or the careful setup — it's in being ready enough, after enough years of practice, that when the window is a single shot, you don't need more than that.
If you're getting into infrared yourself, here's the practical takeaway: you won't always need to hedge, and plenty of scenes will make their intentions obvious the moment you see them. But when a scene feels uncertain, or matters enough that a wrong guess would sting, don't bet the whole shot on a single guess about how the invisible spectrum is going to behave. Bracket it. You'll thank yourself in Lightroom.
Explore the infrared collection at Dream World Images, or read more from the Dreamer's Journal.
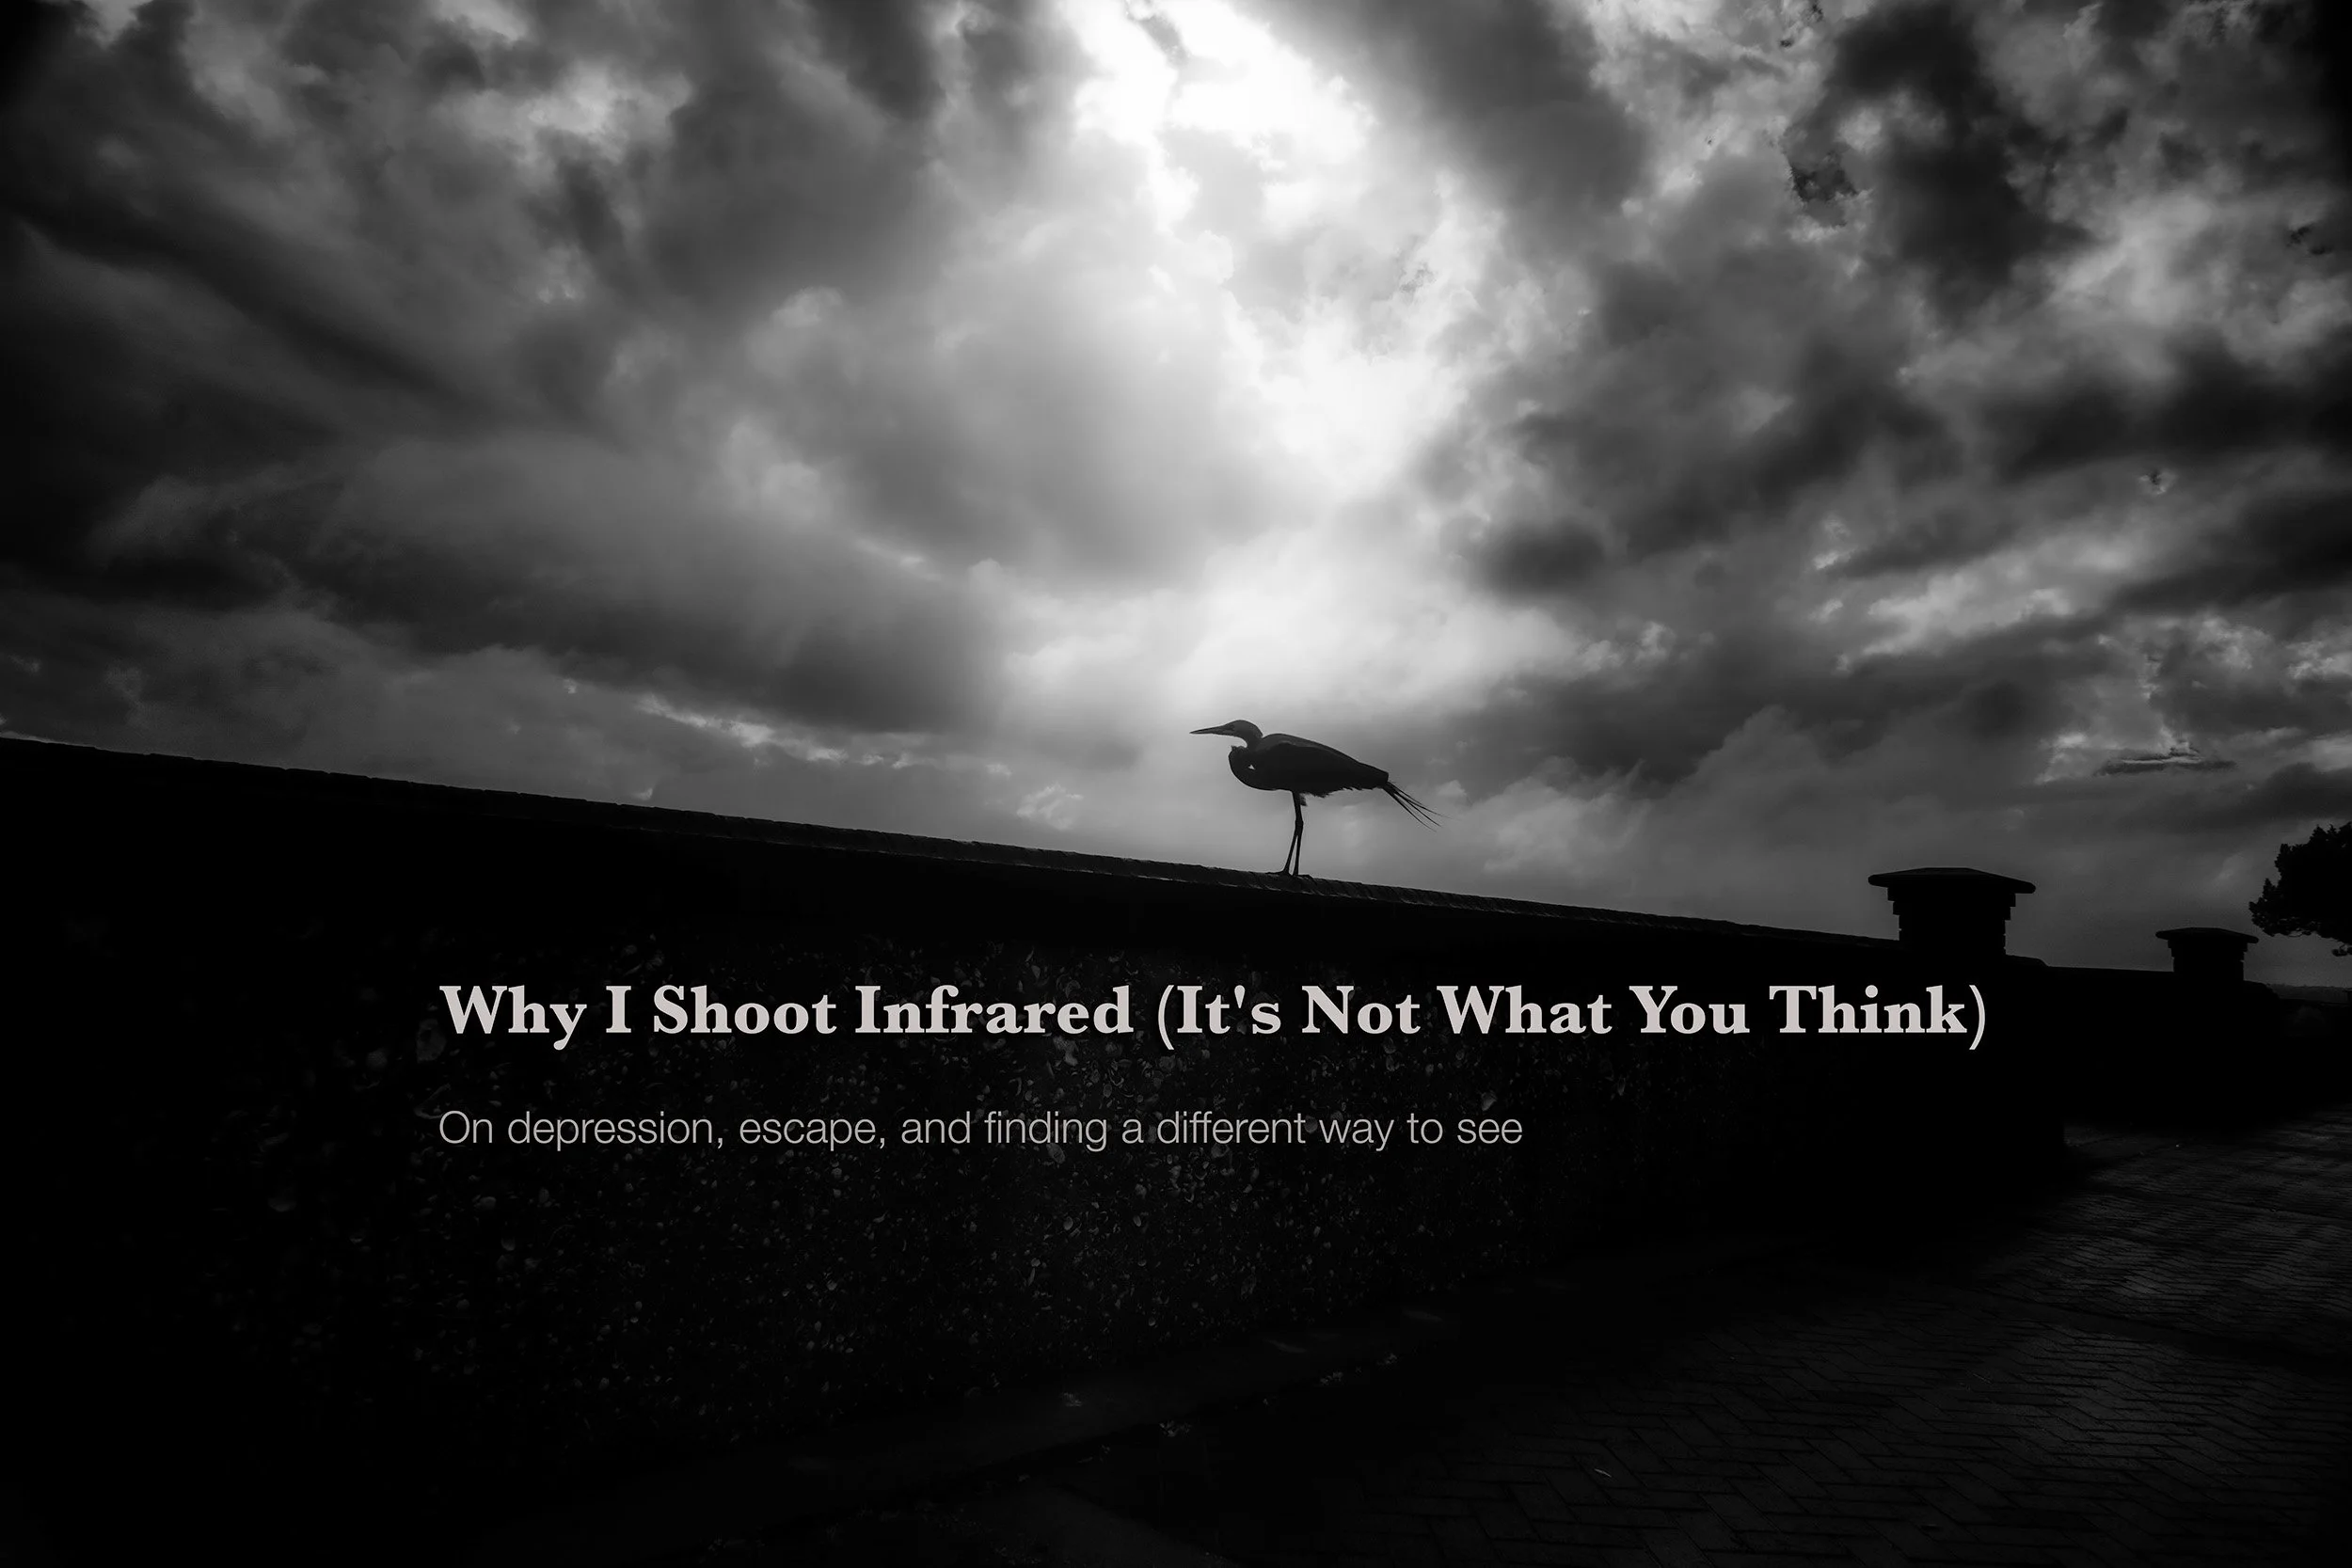
The same scene can render completely differently depending on which wavelength you shoot it in, and how much infrared light is actually bouncing off what's in front of you — which you can't always predict just by looking. So when I'm out shooting a scene I really care about, I don't shoot it once. I shoot it several times, often across several different wavelengths, including 850nm for that deep, otherworldly contrast.